Help Center
How to use MealDay
MealDay is how your organization takes meal orders online. This guide walks through everything a parent does — from creating an account to changing an order after you’ve placed it. Cooking for a program, or running one? Those guides have their own pages.
For Parents
Add your kids, browse the menu, book the days you want, and pay securely. This page.
Read the guide →
For Vendors
Build your meal catalog, set the menu schedule, and pull kitchen reports.
Read the guide →
For Admins
Set up programs and pricing, manage orders and refunds, and configure your org.
Read the guide →
A quick note on where you sign in
yourcamp.mealday.app. That’s where you order. This help page looks the same everywhere, so the steps below apply no matter which organization you belong to.For Parents
Ordering meals for your kids
Everything a parent does — from creating an account to changing an order after you've placed it.
Create your account
Open your organization’s MealDay address — its landing page introduces the program and links you straight to ordering or signing in.
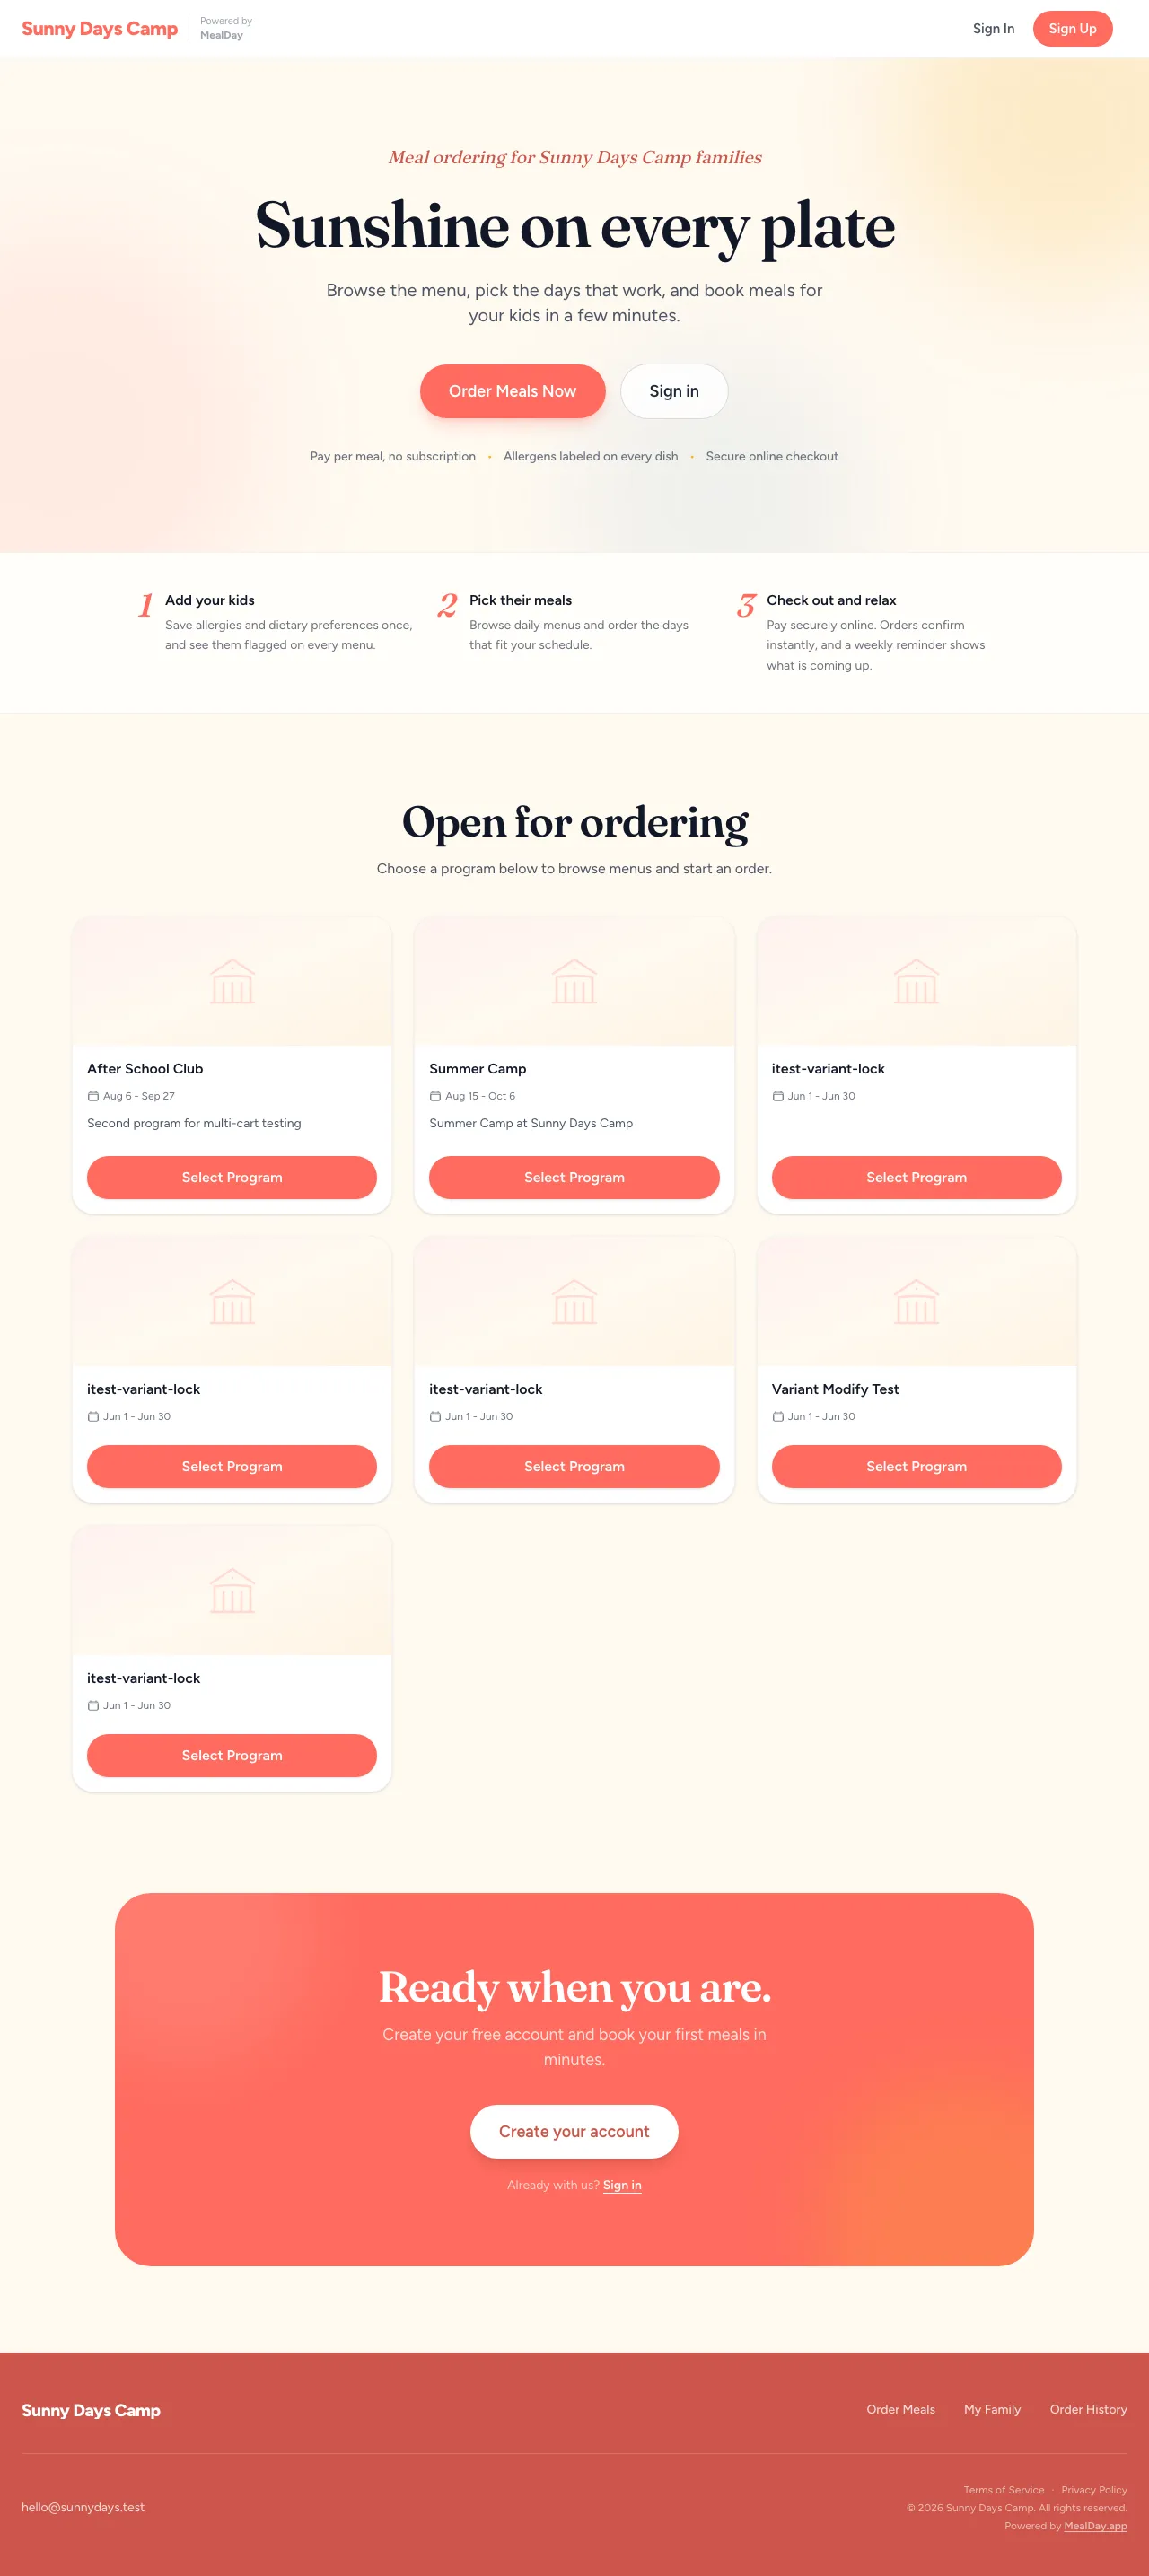
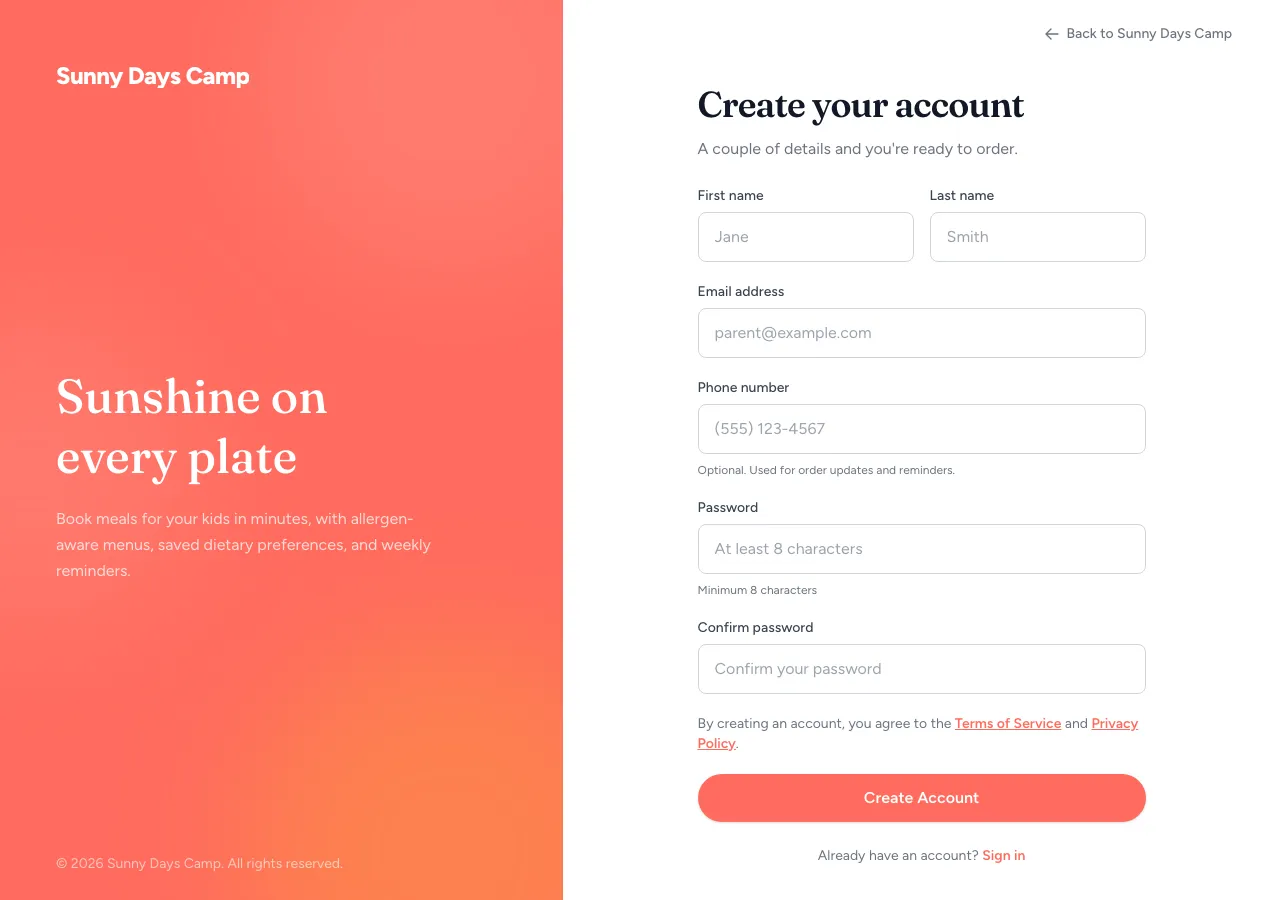
Choose Sign Up. If your organization emailed you an invite link, use that — it pre-fills your email.
- Enter your name, email, a password, and a phone number.
- Submit the form — you’re taken straight to your dashboard.
- Already have an account? Choose Sign Ininstead. Signing in at your organization’s address takes you straight to its dashboard. If you belong to more than one organization, use the organization switcher in the header to move between them.
Add your children
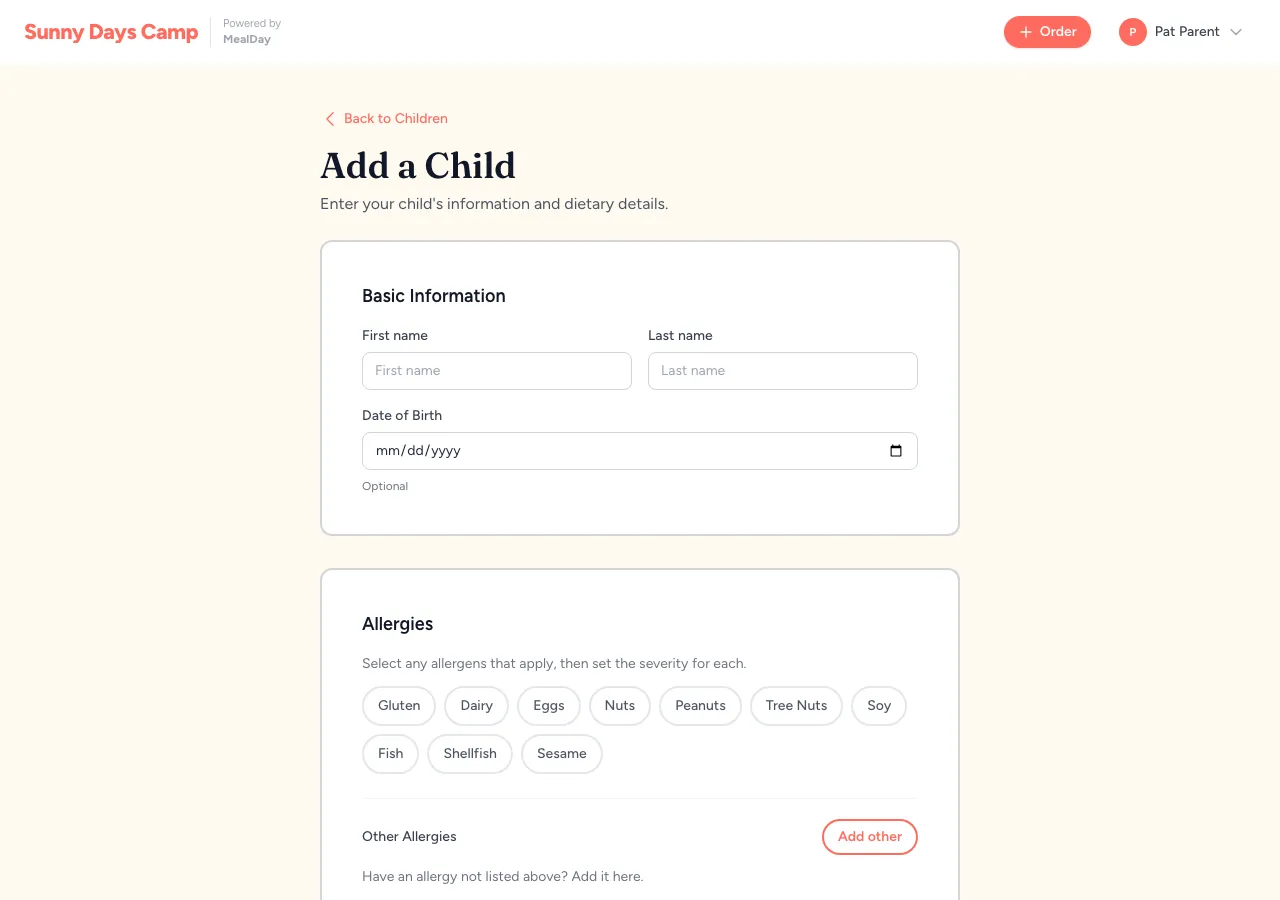
Before you can order, add each child to your family. You save their allergies and dietary preferences once, and MealDay flags any conflicting meal every time you order.
- From your dashboard, choose Add Child (or open My Family).
- Enter their name and date of birth, then add any allergies (with a severity) and dietary preferences.
- Save. The child now appears on your dashboard and at checkout.
Allergies matter
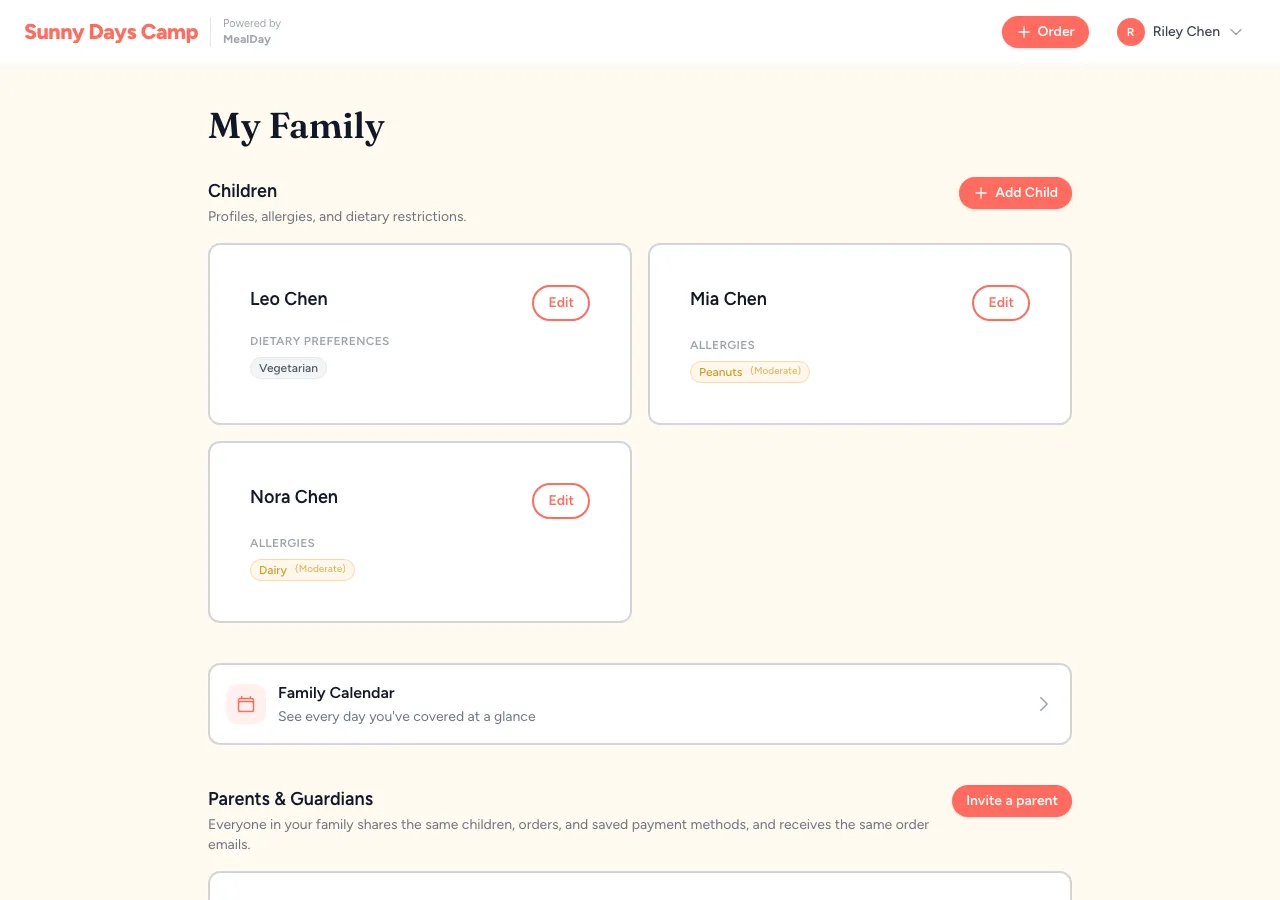
All your children appear on the My Family page, where you can edit or remove them at any time.
Your dashboard
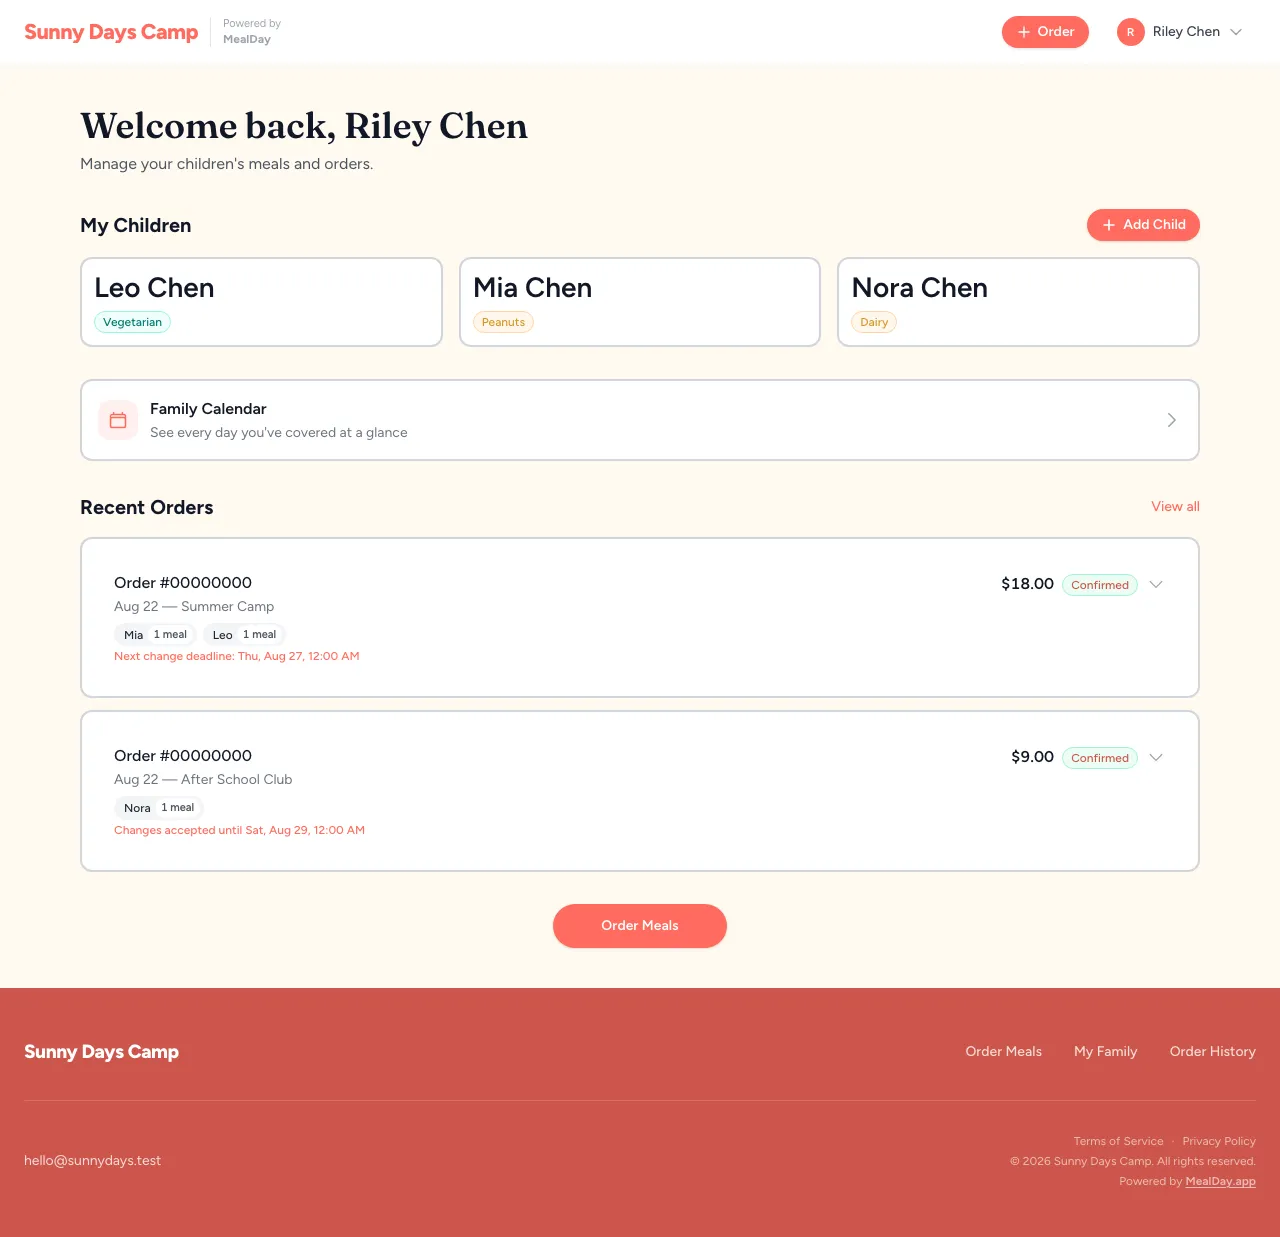
Your dashboard is home base: your children (with allergy badges), a link to your family calendar, and your recent orders. Each order shows its status and, when it can still be changed, the exact deadline.
Book meals
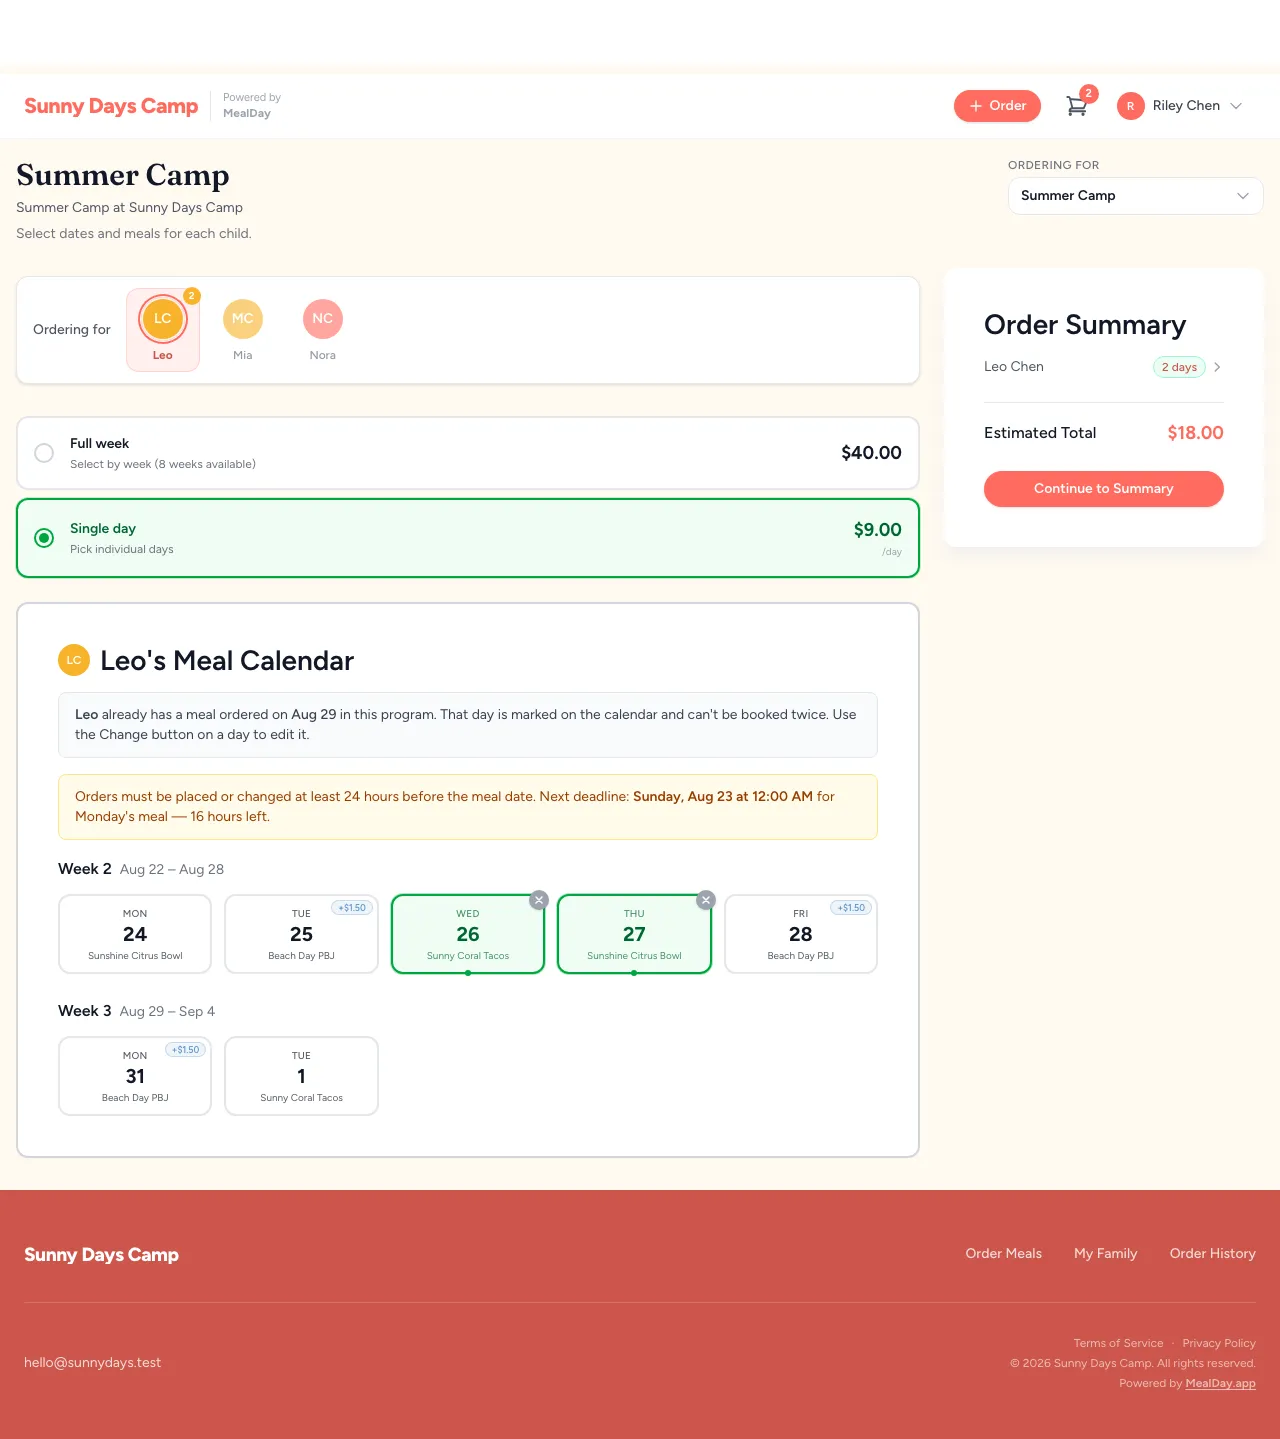
Choose Order Meals, pick a program, then select the days and meals for each child. You can order a full week at once or pick individual days.
- Select the program you’re ordering for.
- Choose a child, then tap the days you want on their meal calendar. Where a meal offers options (for example a preparation choice), you’ll pick one.
- Watch the deadline banner — orders must be placed before each meal’s cutoff, shown in your organization’s time zone.
- The running total updates on the right. Choose Continue to Summarywhen you’re done.
Review and pay
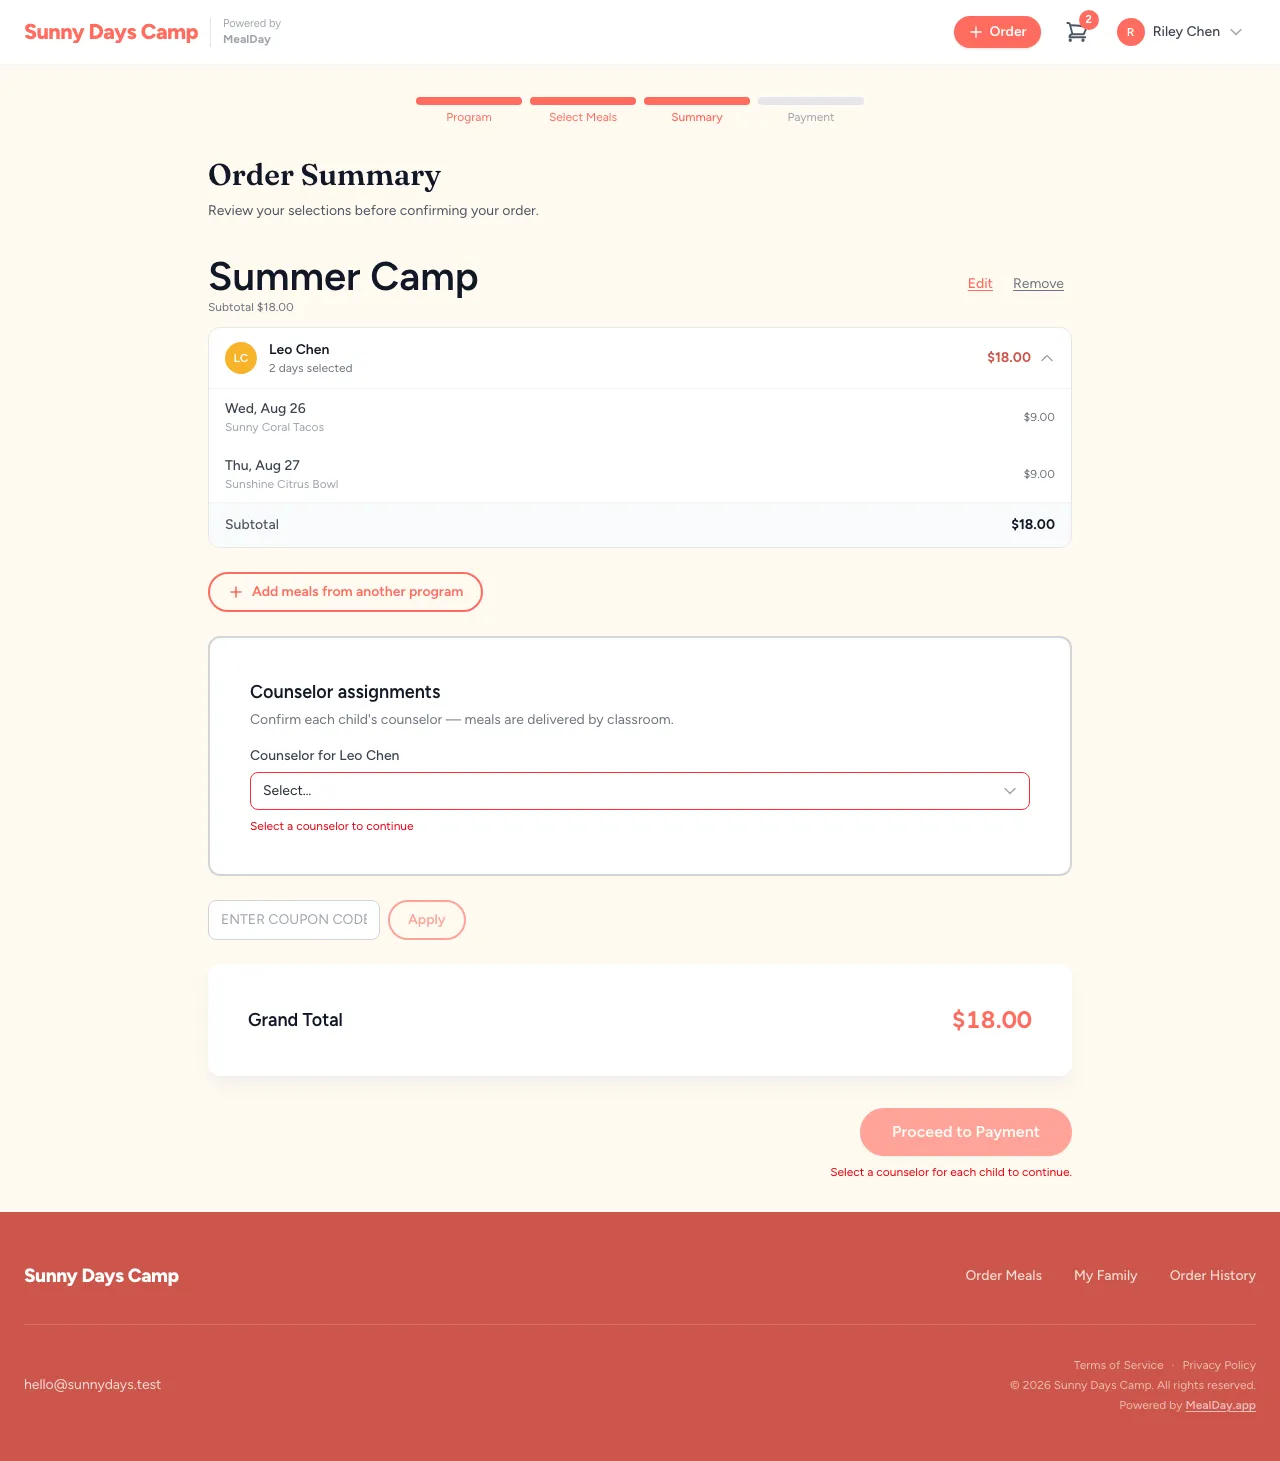
The summary shows every selection across your programs, plus any fees your organization adds. At checkout you agree to the terms, enter your card, and place the order.
- Review your cart on the Summary page and continue to checkout.
- Enter your payment details. Payments are processed securely by Stripe — MealDay never sees your card number.
- Free orders (fully covered by a coupon, for example) skip the card step entirely.
- You’ll land on a confirmation page with your order number, and a receipt email arrives shortly after.
A payment didn't go through?
Use a coupon
If your organization gave you a discount code, enter it during checkout. Valid codes apply immediately and appear as a discount on your total; a code that covers the full amount makes the order free.
See and change your orders
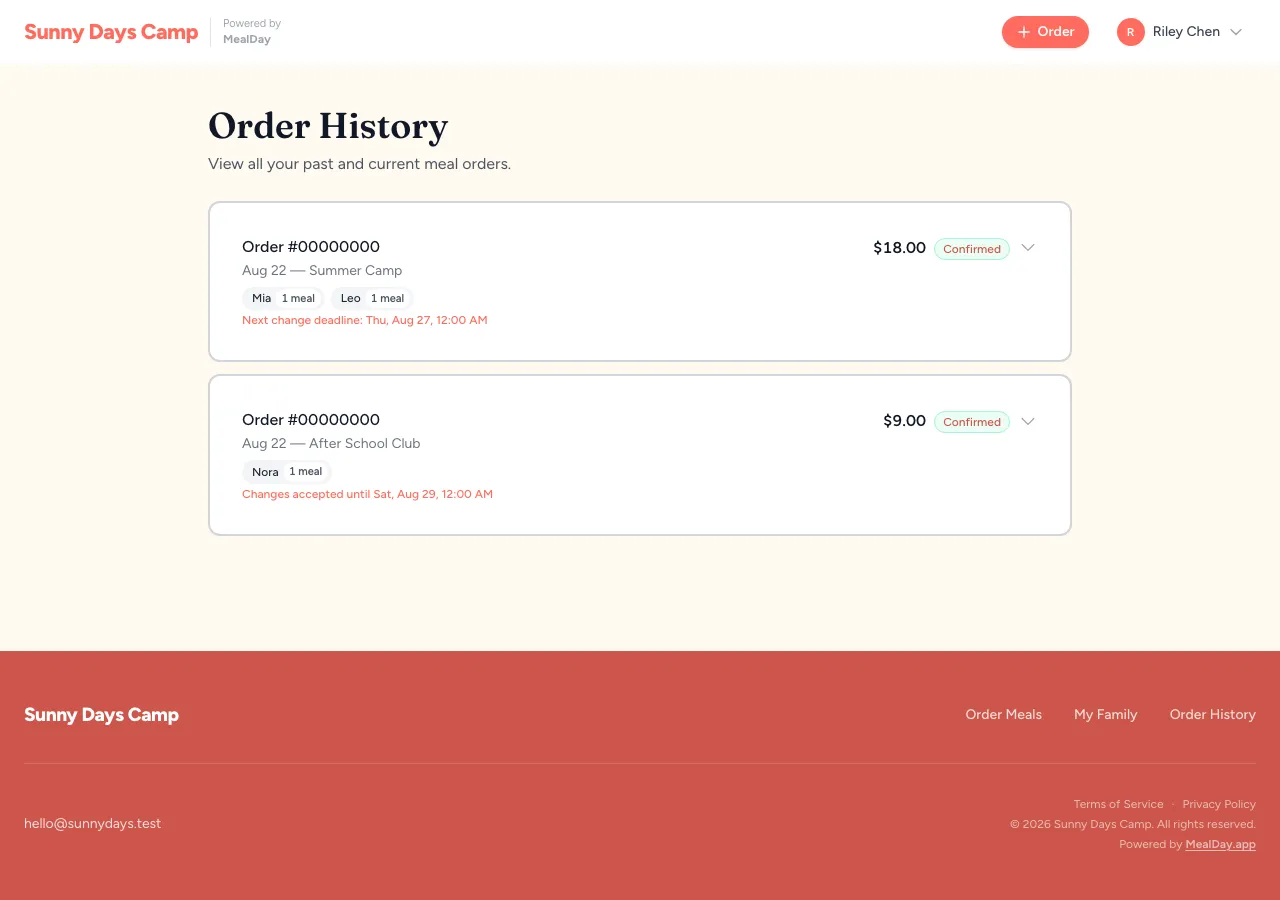
Order Historylists every order. Open one to see its meals and status. As long as you’re before the cutoff, you can change it.
- Swap a mealor change a preparation choice on a day you’ve booked.
- Remove a day you no longer need.
If a change increases the total, you’ll pay the difference; if it lowers the total, the difference is refunded to your original payment method.
Adding a new day?
Your family calendar
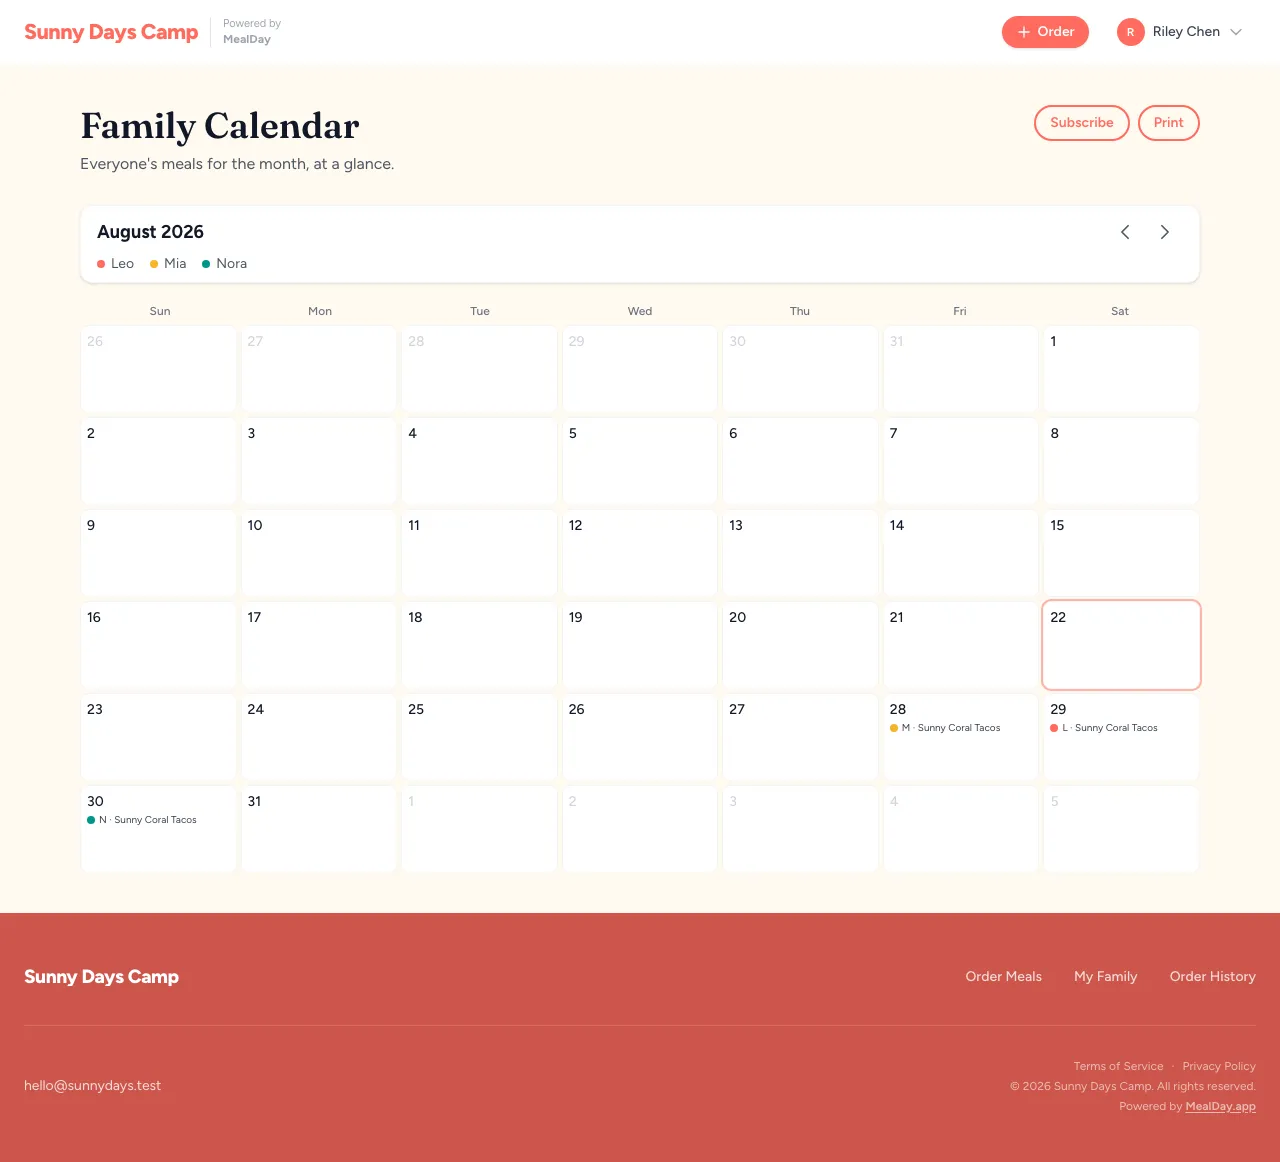
The family calendar shows every meal you’ve booked, per child, across all programs — a month at a glance, including your organization’s closed days. You can subscribe to it from your own calendar app so meals show up alongside everything else.
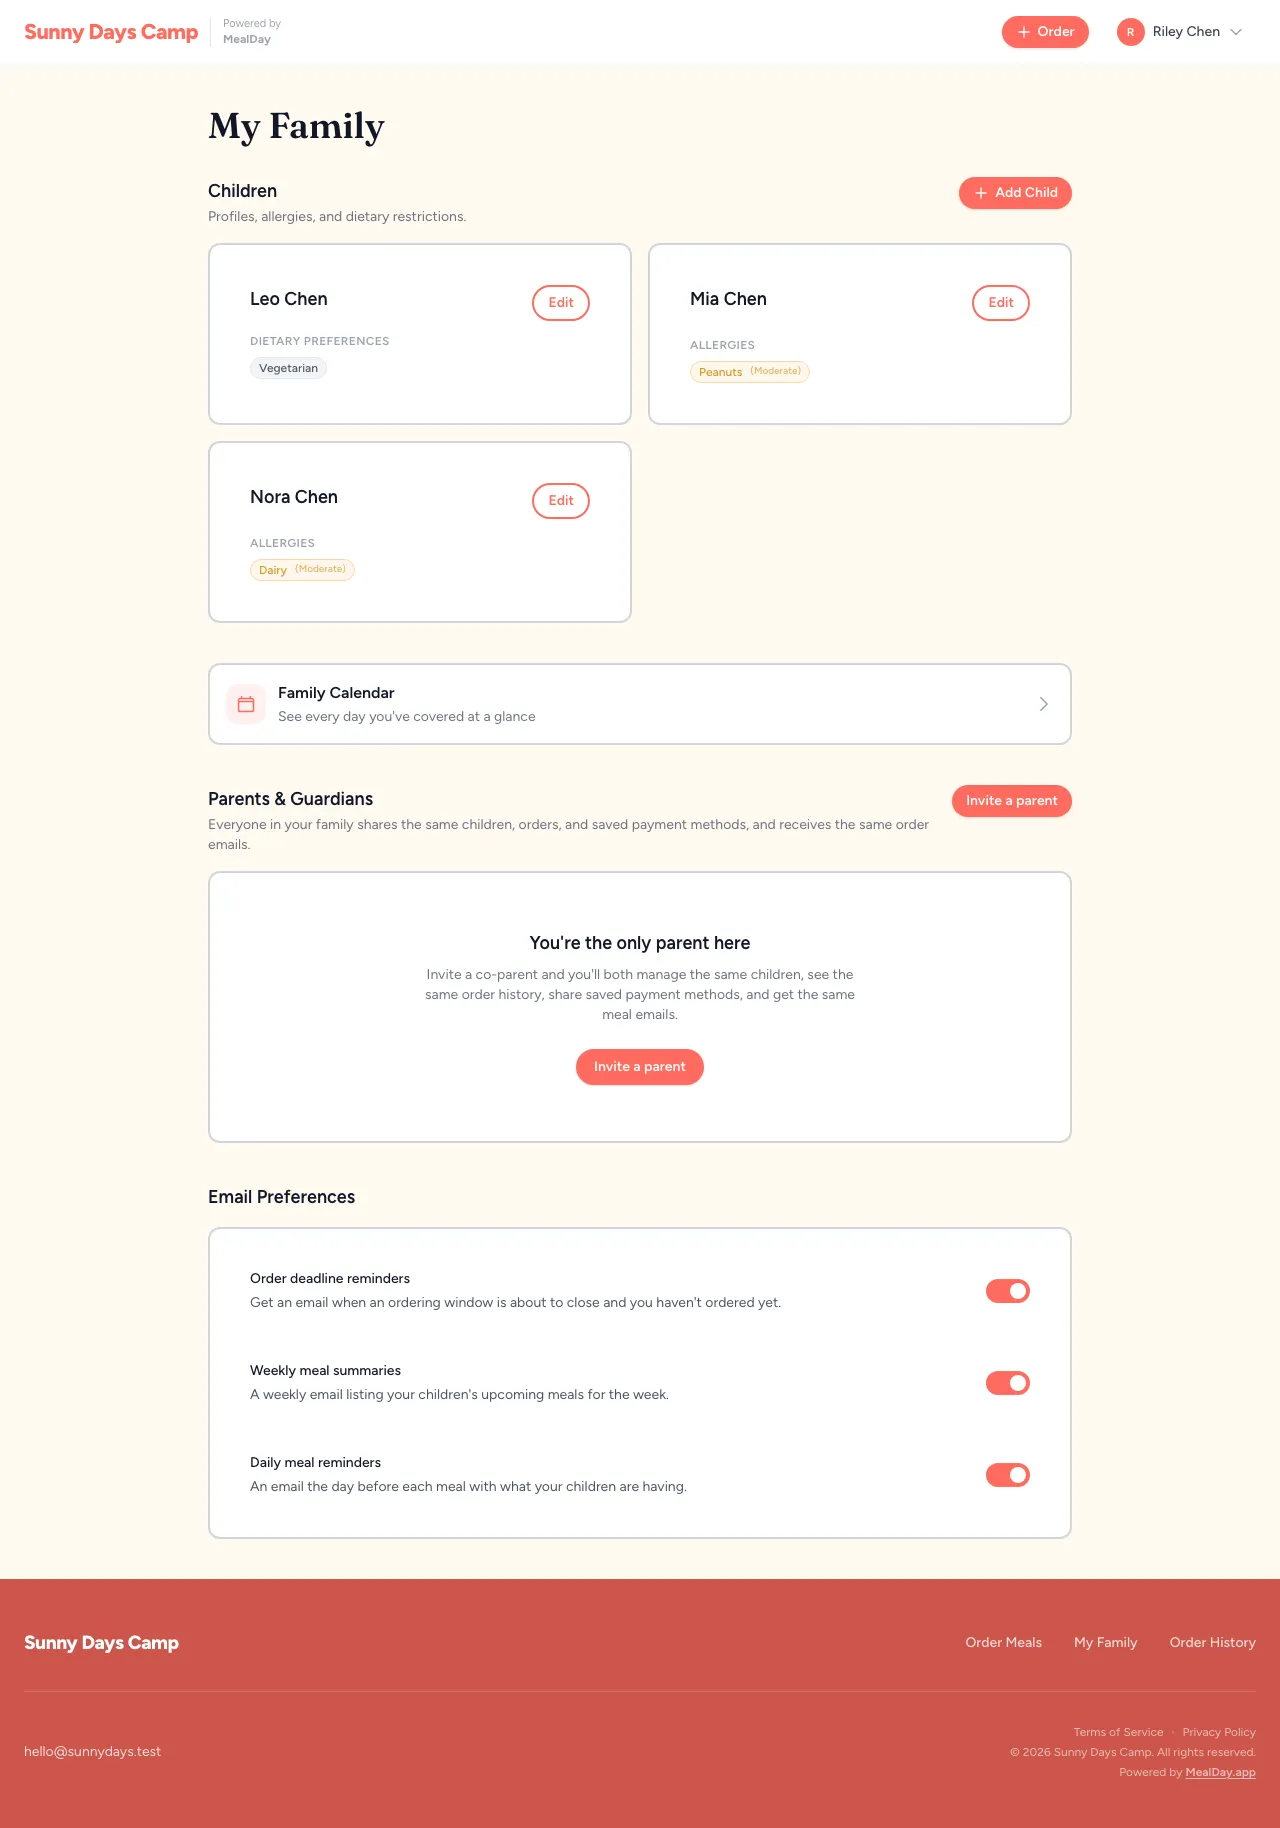
My Family — co-parents and reminders
The My Family page is where you manage children, invite a co-parent to share the account, and control your reminder emails.
- Invite a co-parent so another guardian can order for the same children. They accept from the link you send. If they already have an account with children or orders, those come along when they join — nothing is lost.
- Added the same child twice? That happens when both parents sign up before joining one family. Open the extra profile with Edit and choose Remove. Past orders are kept; if the profile still has meals to come, change or cancel those orders first.
- Reminder emails — turn cutoff reminders and other notifications on or off to suit your family.
Optional
Connect an AI assistant
When your organization enables it, you can connect an AI assistant — such as Claude — to MealDay. A parent connection is scoped to your own family, and works with a focused set of tools — the common tasks below, not every screen.
How to connect
- In your assistant’s connector settings, paste the full URL
https://mealday.app/api/mcp. - Sign in through the browser and approve the connection. You pick which “hat” it acts as — parent, vendor, staff — based on what you already are.
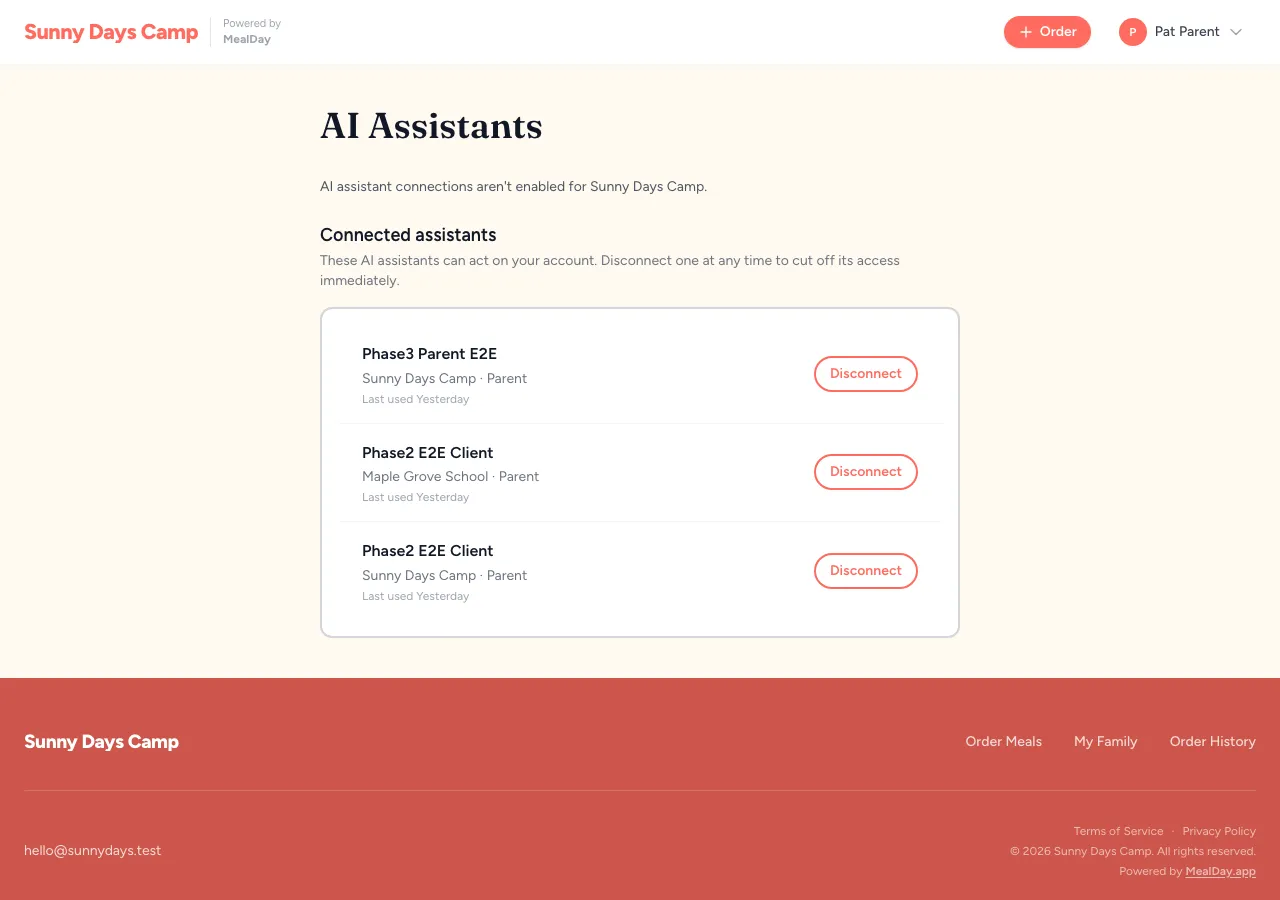
- Manage or revoke connections any time under Settings → AI Assistants.
Money always happens in your browser
What you approve
Disconnect here, not just in the assistant
Don't see a new tool?
What your assistant can do
| Tool | What it does |
|---|---|
list_organizations | See the organizations this connection covers right now. |
list_children | List your children. |
list_programs | See the programs you can order from. |
get_menu | Look up the menu for a program and date. |
get_booked_dates | See which dates each child already has booked. |
list_orders | List your orders. |
list_staff_recipients | See who you can gift a lunch to, the price, and your credit balance. |
create_cart | Build an order — meals, staff lunch gifts, credit applied (a price quote — no charge). |
confirm_free_order | Confirm an order with nothing to charge ($0, or covered by credit) right in chat. |
list_payment_methods | See the cards and bank accounts you saved here. |
preview_payment | Get the exact total for a cart with one saved method. |
pay_cart | Pay with a saved method — only after you confirm the total in chat. |
create_child | Add a child to your family. |
edit_child | Update a child (name, allergies, dietary needs). |
Still stuck?
Get more help
For questions about your specific orders, menus, or program, contact your organization directly — their contact details are in the footer of your organization’s MealDay pages. For questions about the MealDay platform itself, see our Terms of Service and Privacy Policy.